Sanding floorboards by yourself may seem easy, but there is some vital first steps to take care of before you whip out the sander and start tearing up the floor! In fact, if you were to just dive in and start sanding straight away, there is a chance you will tear up the sander – not the floor! So before you begin with the sander, you need to clean, clear and patch the floor boards. But make sure you have got all the tools and materials ready and have considered safety precautions for sanding floors.
 Before sanding the floorboards, you need to thoroughly examine the floor for nails that may have popped up over the years. Sometimes floorboards can warp too resulting in raised corners. You need to take care of these before you start with the sander. If not, the nail heads and raised corners will shred the sandpaper.
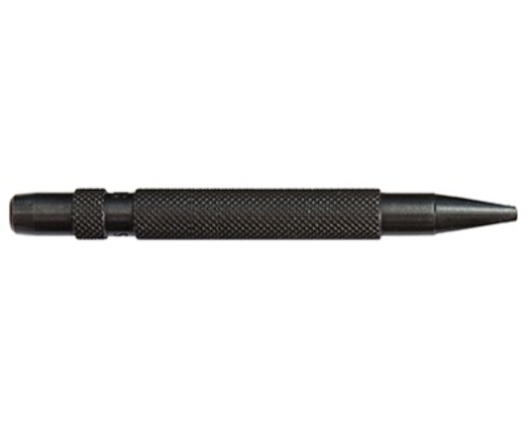 Use a hammer and nail punch to knock the protruding nail heads back into the wood so they are at least flush with the floor. You could run your finger over afterwards to make sure you can’t feel the nail head anymore. With raised corners it can be a little more difficult. If it’s just a little raised, you can try sanding over it.
 After checking the floorboards for protruding nail heads and corners, you need to clean off sticky residue from the the previous floor covering or stains. If you don’t, it will quickly clog up the sandpaper rendering it useless. To do this you can use a scraper.
Before sanding the floorboards make sure you remove any tools, furniture and furnishings from the sanding area. It needs to be totally clear before you begin sanding the wood floors. Remember too that sanding can create some dust so you don’t want dust to get into your furniture and furnishings if possible.

 An entire post could be written about this, but basically all cracks, holes, dents and nicks need to be filled with timber putty. There are some ways to remove dents without putty in some floors, but we will leave that for another post. For now simply go down to your local hardware store and buy some timber putty – preferably one with a colour similar to the colour of your timber floor. Don’t get confused with timber polish – which you will also need later on when you polish the floorboards.
 Make sure there is no dust in the hole. Then use a putty knife to push the putty well into the hole until it is flush with the surface of the floorboard. Allow the putty to dry then sand it so it is flush and smooth with the rest of the board. If the putty has sunk a bit after drying, you will need to add more putty and repeat the same process.
Floor sanding can be quite complicated and frustrating at times. It can also be quite time consuming. I have been in the industry for over 16 years and have had to deal with a whole range of complications with sanding timber floorboards. But if you persevere you should be okay. If you still want to go ahead and do it yourself, make sure you read my instructions on how to sand a floor and get the right machines. On the other hand, if you are looking for professional floor sanding and polishing services in Brisbane, please contact me!

Don’t take our word for it. Check out our
google reviews and see what people are
saying about our work.
![]()